


5 Pro Tips for Sublimation Tumbler Success
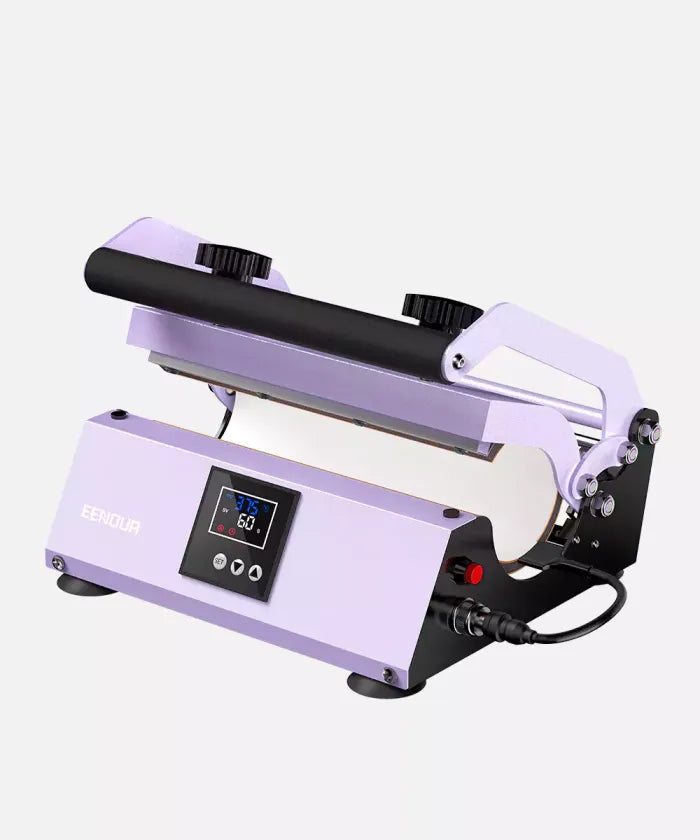
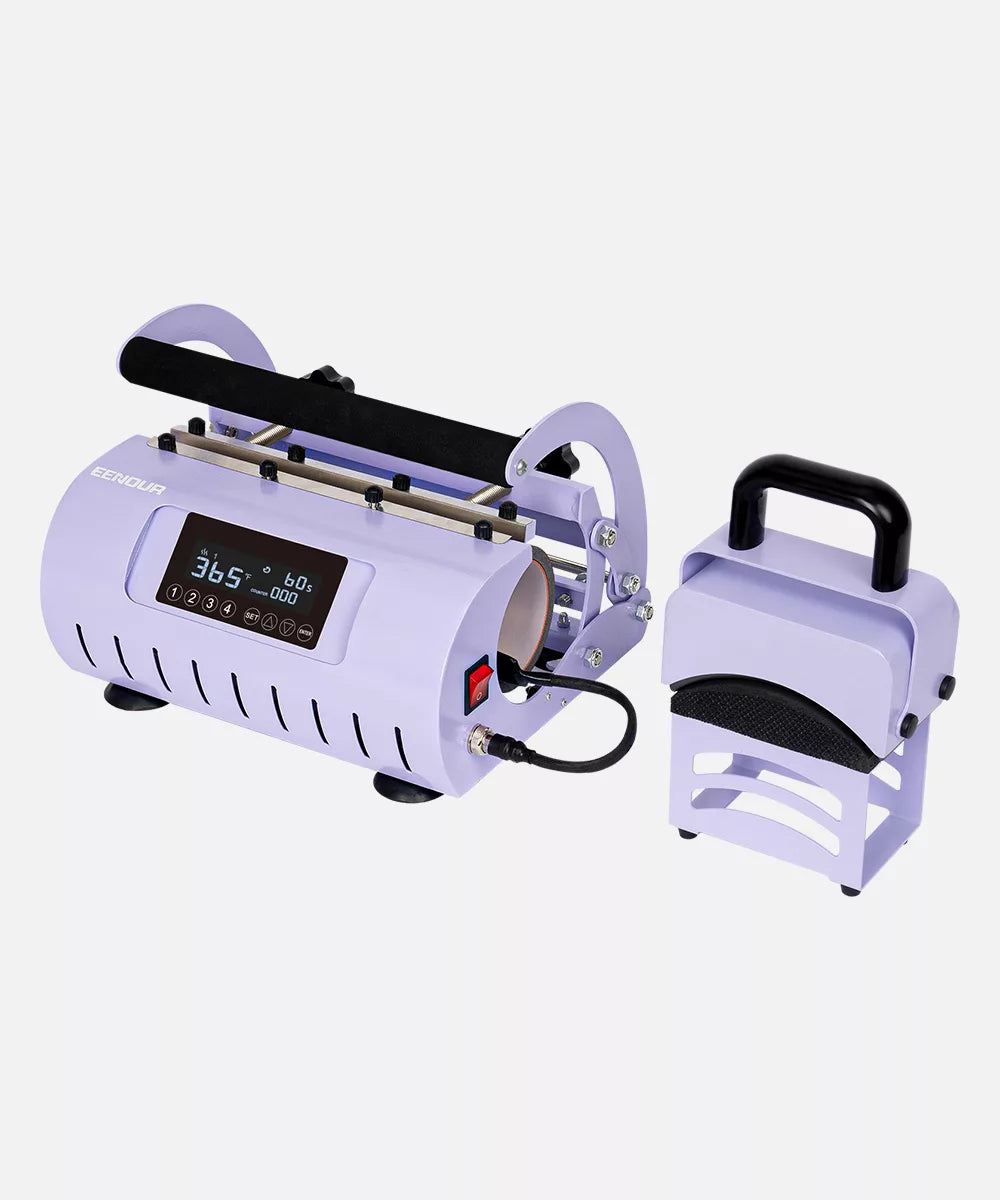
You’ve decided to try your hand at making custom tumblers with sublimation, but aren't sure where to start. Don't sweat it- EENOUR got your back. With these 5 pro tips of Roy, an expert in the field on Youtube by using EENOUR heat press machine, you'll be making beautiful, personalized tumblers in no time. From picking the right blanks and inks to perfecting your technique,we'll walk you through everyting you need to know. Trust us, with a little practice and patience, you can master this fun and rewarding craft. Get ready to unleash your creativity and wow your friends and family with your own custom designs.
Tips 1, Use Quality Tape instead of simply choosing colors.
When it comes to sublimating tumblers, the type of tape you use is critical to your success. Don't just grab any old roll of tape and assume it will work. You need heat resistant tape that can withstand the high temperatures required for sublimation without melting or leaving behind residue.
Look for tape specifically designed for sublimation projects. These specialty tapes, like polyester film tape, have a high heat tolerance( up to 250℃ or 482℉) and release cleanly after heating. Using a tape not meant for sublimation will likely ruin your tumbler -and waste your time and money.
Once you have the proper heat resistant tape, be sure to apply it carefully. Place stirips of tape over the top and and bottom edges of your design in addition to the middle. This helps prevent wrinkling that can occur along the rim. Press down firmly so the tape adheres well but avoid applying too much pressure, which may leave marks on the tumbler.
For the best results, Roy recommends removing most of the tape once the tumbler comes out of the heat press while it's still hot. This allows you to peel the tape off easily without shifting the design. Leave at least a few small pieces of tape in place as anchors to keep everyting aligned. Then once the tumbler has cooled completely, you can remove any remaining tape. At the same time, you can try EENOUR's heat-pressing tape. We also select high-quality materials and there are 2 sizes to choose from.
Using the right tools and techniques will help ensure your custom tumbler turns out picture-perfect. Don't cut corners when it comes to tape-choose a high-quality option and apply it properly. Choose EENOUR and your tumbler will thank you, and your customers will appreciate the professional-looking result. Success comes down to the details, so focus on getting the little things right.
Tips 2, Use wide tape to tighten the top and bottom.
When securing your design to a tumbler, using wide tape around the top and bottom edges will help ensure it adheres properly during the sublimation process. The heat and pressure can cause the edges of regular tape to lift up or wrinkle, potentially allowing your design to shift.
To avoid this, use tape that's 20mm wide for the top and bottom seams. The added width helps the tape grip onto the curved surface better and prevents lifting during sublimation. As you apply the wide tape around the edge of the tumbler, make sure to overlap the tape with each wrap, sealing it firmly onto itself. Run your finger along the edge to adhere it thoroughly. The tight, overlapped seal will keep out air and prevent your design from shifting, even under high heat.
Consider alternatives
For some designs or glass styles, using wide tape directly may not work well. So you can lightly tape the paper with narrow tape first to try to keep the design wrinkle-free. Then use the wide tape and remember to tighten the design. EENOUR Regular 10mm width is an option.
Remove carefully
You can complete sublimation without waiting for complete cooling. Carefully remove the wide tape without moving the pattern. Gently peel the tape off one edge while holding the design in place with your other hand. For elastic, slowly roll one side over the edge of the roller. Work slowly around the entire edge, making sure your design stays centered and straight. With patience and care, these techniques can help you successfully sublimate and achieve a perfect finished product.
Tips 3, Use Metal ruler and white paper to cut the edges of the design.
When cutting out your design to apply to the tumbler, take extra care to get clean, sharp edges. Using a metal ruler and blank paper will help ensure precision and protect your design. Lay the blank paper over your design and use the ruler and an craft knife to carefully cut along the edges. The paper acts as a battier between your fingers and the design, preventing smudging or tearing.
Get the right tools.
Invest in a quality metal ruler and craft knife. The ruler should have clear markings in the unites you prefer and a cork backing to prevent slipping. A craft knife, allows you to cut with control and accuracy. Keep extra blades on hand for the sharpest cuts. At the same time, a good cutting mat can also make cutting smoother and protect your work table.
Practice your technique.
Take your time and go slowly, applying firm and even pressure. Keep your non-cutting hand flat on the table for stability and carefully guide the blade along the edge of the ruler. Make multiple passes with the knife instead of trying to cut through the material in one stroke. With practice, you'll get better at cutting smooth curves and corners.
Check your work.
Once done cutting, remove the waste material to reveal your design. Examine the edges to ensure they are clean, smooth, and symmetrical. If there are any jagged, uneven areas, you may need to recut that section. It's best to spot any issues now before applying the design to your tumbler.
Following these tips will result in a perfectly cut design that adheres smoothly to your tumbler. Put in the time to master the technique and tools for sublmation success. Your patience and precision will pay off with a professional-looking finished product. Keep practicing and before you konw it, cutting crisp edges will become second nature!
Tips 4, It will be easier to peel off some of the tape when the tumbler is hot.
When your tumbler comes out of the heat press, it will be extremely hot to the touch. While you'll want to give it a few minutes to cool before handing it directly, the heat will actually work in your favor when it comes time to remove the tape.
The tape will loosen its grip
Then high temperature will soften the adhesive on the tape, allowing it to release its hold on the tumbler more easily. This means you can peel it off smoothly without worrying about the pattern shifting or tearing. Start at one edge of the tape and gently lift up and away from the tumbler surface. Work slowly and be careful, as the tumbler and any exposed tape will still be very hot!
Remove most of the tape, but not all
It's best to remove the majority of the tape while the tumbler is hot, but leave a few strips in place as anchors to prevent the pattern from moving, especially around curves and edges. Once the tumbler has cooled completely, you can go back and carefully remove and remaining tape. The pattern should mow be firmly adhered in place.
By arranging the order reasonably, you can complete more tumlber while waiting for the deserted time.
Since we need to wait for the Tumbler to completely cool down before finally. During the waiting period, experienced producers will arrange for another Tumbler to enter the Heat press machine. At the same time, you can also roughly judge the tumbler's cooling time through other scheduled beep sounds. All EENOUR Heat press machines have a countdown function, which can help you complete the timing without having to look at the clock all the time or come into contact with the tumbler heat because you don't pay attention to the time.
Following these tips will help ensure pattern placement accuracy and a cleanly finished sublimated tumbler. With some practice, you'll be churning out perfectly designed tumblers in no time. Be patient through the learning process and don't get discouraged if you make a mistake. Sublimation to take time to master, but can be a fun and rewarding skull with EENOUR.
Tips 5, Use paper towel rollers to make the design draing and tumbler fit better.
Have you ever had issues with getting your design to lay flat and conform to the shape of your tumbler? Using paper towel rollers is a simple trick to help overcome this common struggle.
Roll up your design
Once you've printed your design onto heat transfer paper, gently roll it up and place it inside an empty paper towel roller. Let it sit for at least 10 minutes so it can hold the rounded shape.
Carefully apply the design
When you're ready to press your tumbler, slowly unroll the design and place it onto the tumbler, adjusting as needed to line it up properly. The rounded shape from the roller will allow roller will allow it to sit smoothly on the curved surface. This helps avoid creases, bubbles, and an uneven application.
With the design rolled to the perfect curve, you'll find it effortlessly sticks to the tumbler for a flawless finish. The heat and pressure will permanently adhere it in place. For the best results, start at the top of the tumbler and work your way down using a heat press, carefully smoothing out any air pockets or wrinkles as you go.
Using this simple trick, you can achieve a professional custom look for your tumblers every time. No more struggling to get all the edges and seams straight--let the paper towel rollers do the work for you! With some practice, you'll be churning out perfectly adorned tumblers to sell at craft fairs or give as gifts in no time.
So there you have it - five pro tips to take your sublimation tumbler game to the next level. Whether you're just getting started or looking to improve your skills, implementing these strategies can help you create stunning, vibrant designs that wow your customers. Sublimation takes practice, but with the right techniques and equipment, you'll be churning out professional-quality tumblers in no time. So get out there, get creative, and start sublimating!